This post is dedicated to my friend Diana, I thank her for all her support in and outside of this blog. She wanted to know how I got those nice, smexy waves in some of my posts, so here is for her. I hope this answers your question if you were wondering how I got my wavey hair look. As a precaution, even though the title says “no heat”, I lied and used heat to blow dry my hair, but you can air dry your hair too, I’m just to impatient to wait for it to dry.
This technique works great for any length of hair, although I would suggest to only curl/wave your hair if it is past shoulder length. Otherwise, after making your hair even shorter, your hair may look a bit too bulky around your head and make your face look larger than its actual size. This technique is also good for people who have naturally straight or almost straight hair who want to have temporary wavy hair.
Let’s start!
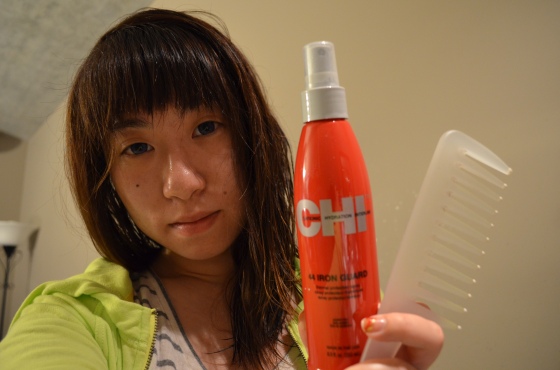
Step 1: Wash, Comb and Prep your Hair with Heat Protectors


Step 2: Blow dry or Air dry your hair until it is 80% dry
You can dry it as little and as much as you want. The drier the easier the waves will fall out, the more most the more defined the wave. I would still dry it at least to 50% so that you do not get sick while sleeping with wet hair.


Step 3: Part your hair in 2 and french braid both sides
We’ll be making two big french braid. First, part your hair in two. Pick up 2 inches of hair from one side of your part and start braiding two rotations. One rotation is two twists left and right. Then we start french braiding. French braiding isn’t much harder than normal braids. All you have to do is grab an extra parcel of hair from underneath the braid and keep adding hair after each rotation. After you have no more hair to add to your french braid, continue braiding until you get to the end of your part and tie with a hair tie. Do the same for the other half of your hair. I like to braid both parts to the same side because I look like a farmer’s daughter with two braids, one braid looks more chic for me, but that’s just a personal preference.


Done one braid, onto the next!


TADA! Done! Now go sleep!
Step 4: Get some beauty sleep and carefully take out those braids
Do your normal morning routine. Then time to fix your hair.
Take out the hair ties, and take out each braid one by one. You don’t want to take out multiple braid at one time or you will mess up the waves.
After you have taken out all the braids, softly puff out your hair to make your waves more natural looking.


Step 5: Spray your hair with Beach Spray (optional)
This step is optional, but if you have beach spray, it will make your waves more defined with its salt ingredients.
After you spray your hair, bunch a clump or hair and scrunch, do this for all your hair, so that all your waves get some of that product.


Step 6: Hair Spray your waves
Fix your hair with hair spray that does not clump your hair. Clumpy waves is a big No NO! Hair Spray will allow your waves to last all day!

Step 7: Straighten your bangs (if any)
If you have bangs, straighten them out to finish your look. You can add hair oil to control flyaways and you’re all done! Hooray! This hair technique only took me 2 minutes in the morning, so it’s good for days when I accidentally slept in. Oops 🙂

DONE!
If you aren’t good with braiding, practice makes perfect, before I made my waves this way, I didn’t know how to french braid!
This technique also puts less damaging heat on your hair; if you air dry your hair, even better, no heat!
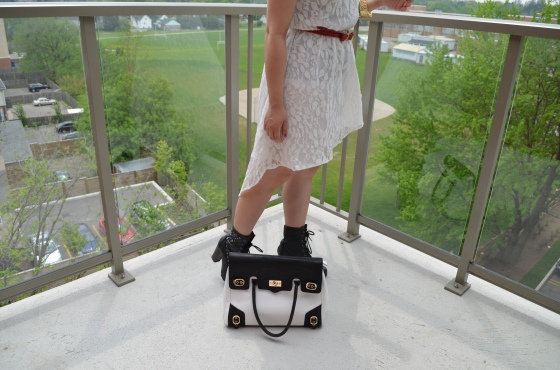
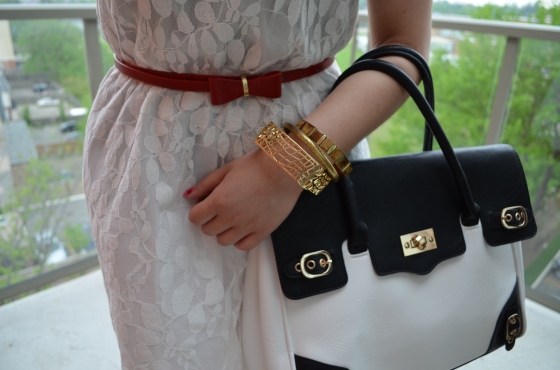
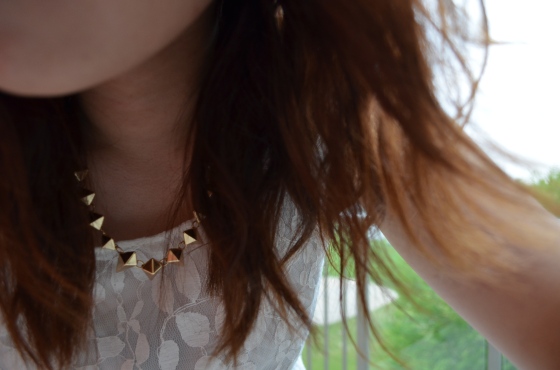
Here’s how the end product looks:


Hope you found this helpful! This look is just perfect for the warm weather!